How to set TTL (Time To Live) parameter via Zapier
To set TTL link expiration via Zapier
-
Sign in to your Zapier account.
-
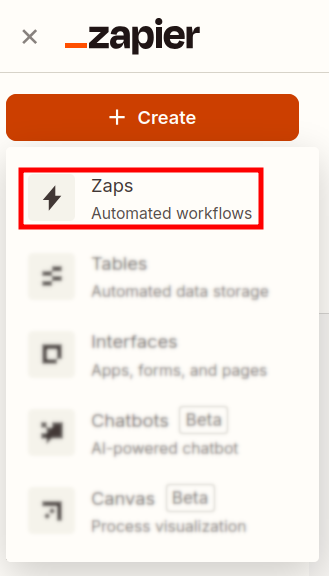
From the left panel, create a new zap by clicking on + Create and then on Zaps:

-
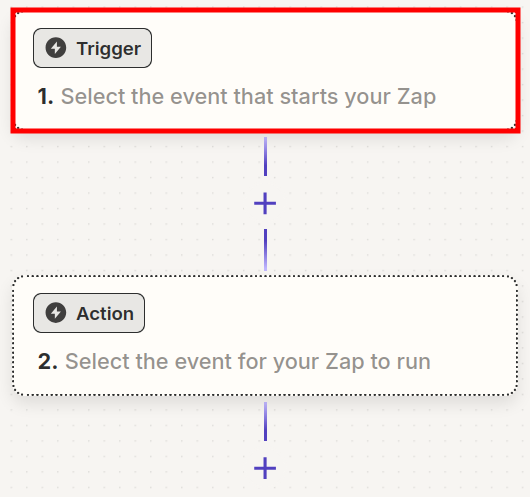
In the Zapier draft click on the Trigger step:
-
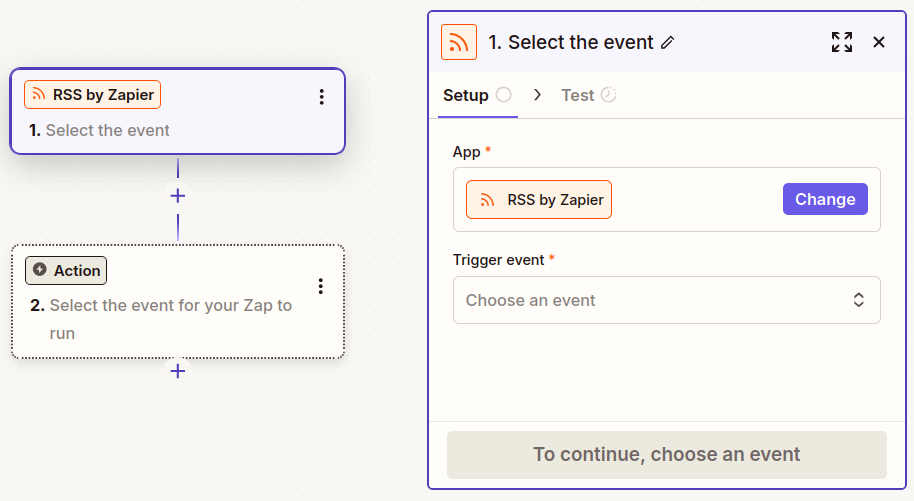
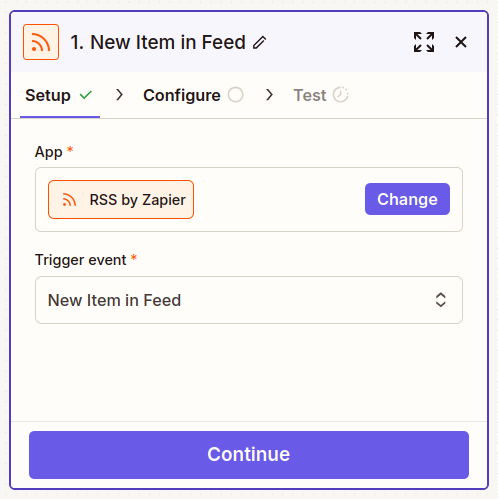
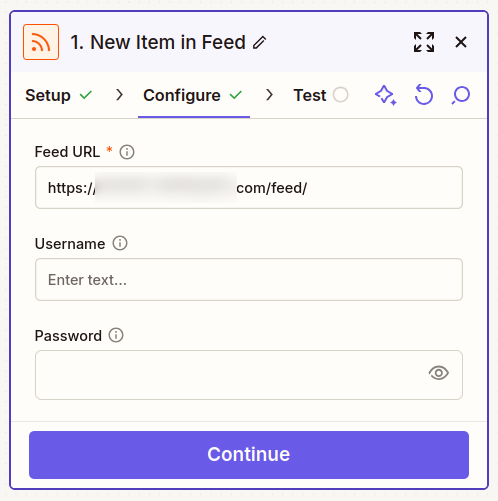
Next, select a trigger app and event (e.g., a new blog post or social media update):
-
Test the step:
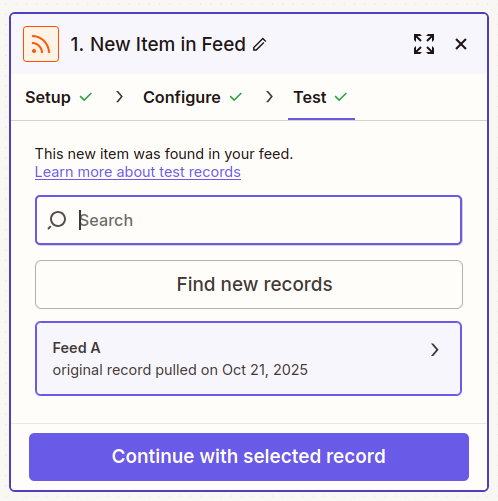
The result record (trigger URL) can then be passed as a long link for processing and shortening.
-
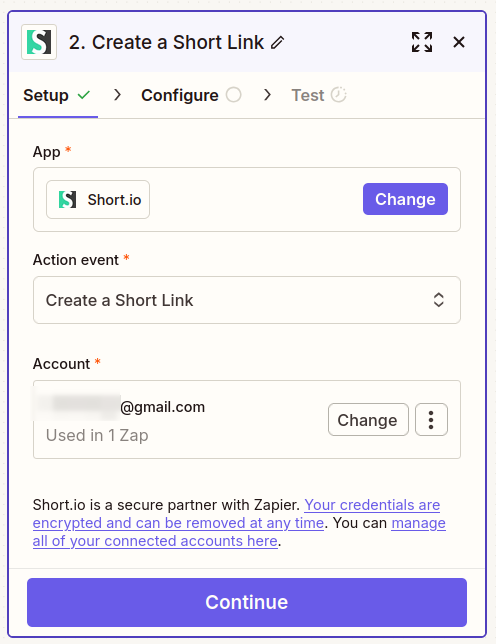
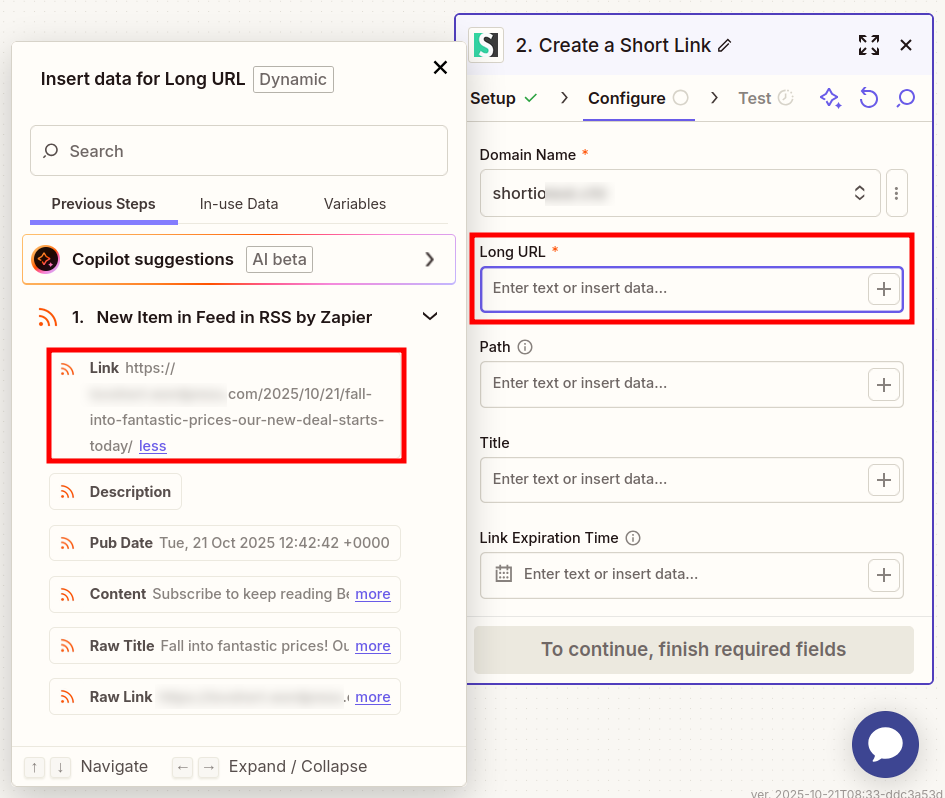
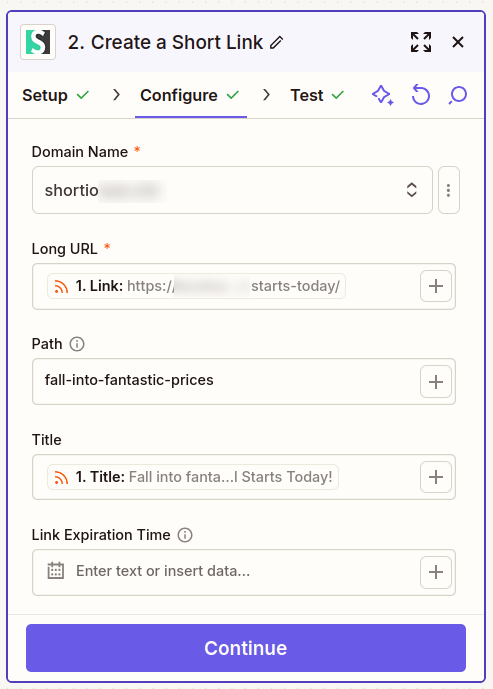
Add the Short.io app as Action step and fill in the required information:
-
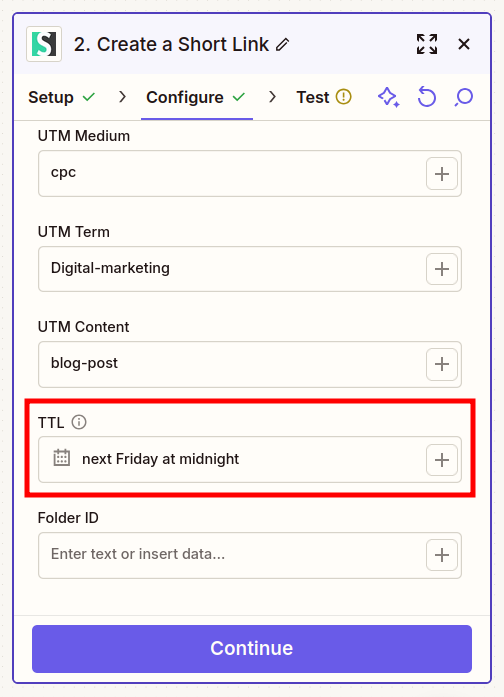
Scroll down to locate the TTL setting. You can select a date from the calendar or even enter human readable text, for example: Next Friday at midnight:
-
Test the step.
-
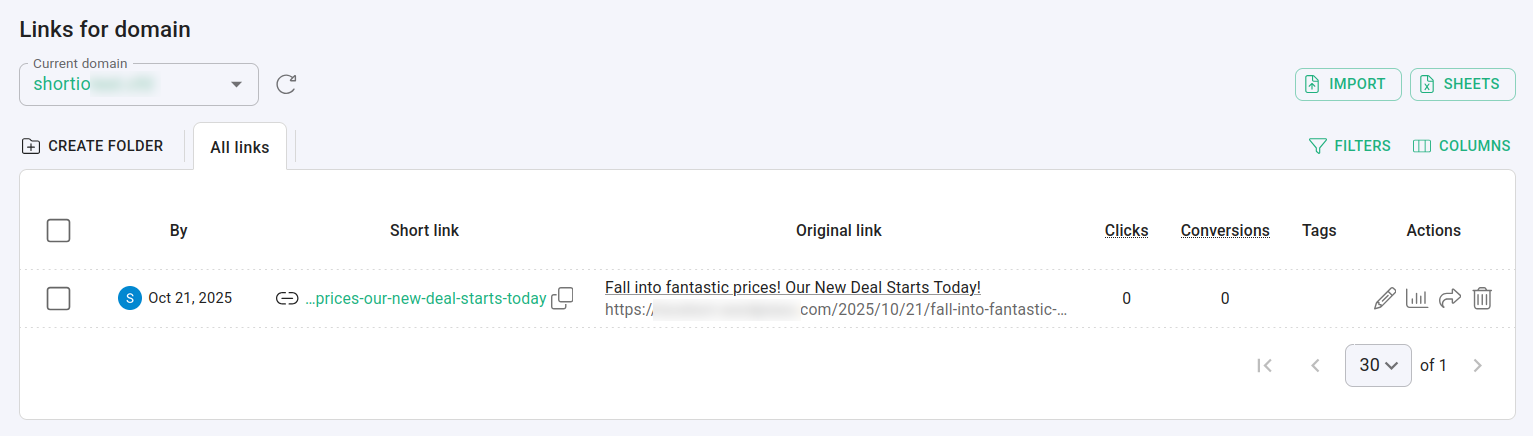
Upon successful completion, the short link appears in your Short.io Dashboard:
-
From Zapier, you can also review the TTL date and time in the Data out section:
