How to configure Short.io SSO via AD FS
Short.io supports Single Sign-On (SSO) integration with AD FS (Active Directory Federation Services) which is a service provided by Microsoft as a standard role for Windows Server that allows a web login using existing Active Directory credentials.
SSO is available on the Enterprise Plan.
Before you begin
You need to create a Team in Short.io before setting up SSO. Follow the instructions in this article.
Requirements
-
A server running Microsoft Server 2012 or 2008. This guide uses screenshots from Server 2012R2, but similar steps should be possible on other versions
-
A SSL certificate to sign your AD FS login page and the fingerprint for that certificate
-
An Active Directory instance where all users have an email address attribute
-
Short.io Enterprise account
After you meet these basic requirements, you need to install AD FS on your server. Configuring and installing AD FS is beyond the scope of this guide, but is detailed in a Microsoft KB article.
When you have a fully installed AD FS installation, note down the value for the SAML 2.0/W-Federation URL in the AD FS Endpoints section. If you chose the defaults for the installation, this will be '/adfs/ls/'.
AD FS settings
Adding a Relying Party Trust
To create the connection between AD FS and Short.io you need to define a Relying Party Trust (RPT) as follows:
-
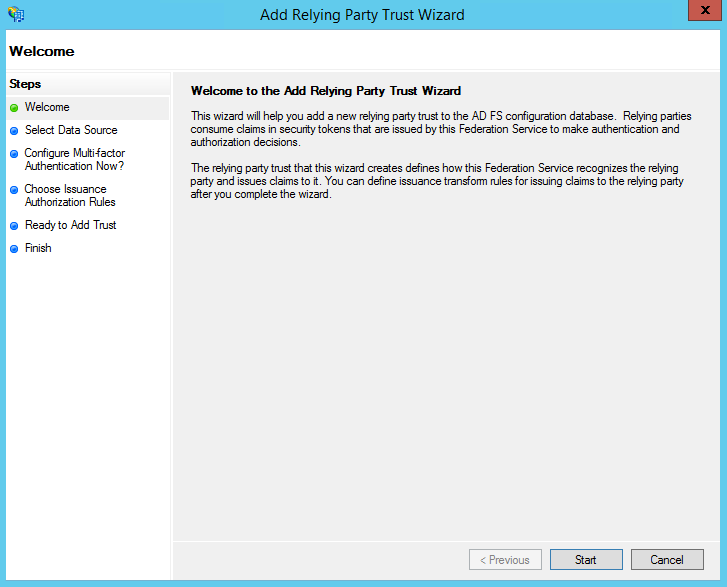
Select the Relying Party Trusts folder from AD FS Management, and add a new Standard Relying Party Trust from the Actions sidebar. This starts the configuration wizard for a new trust:
-
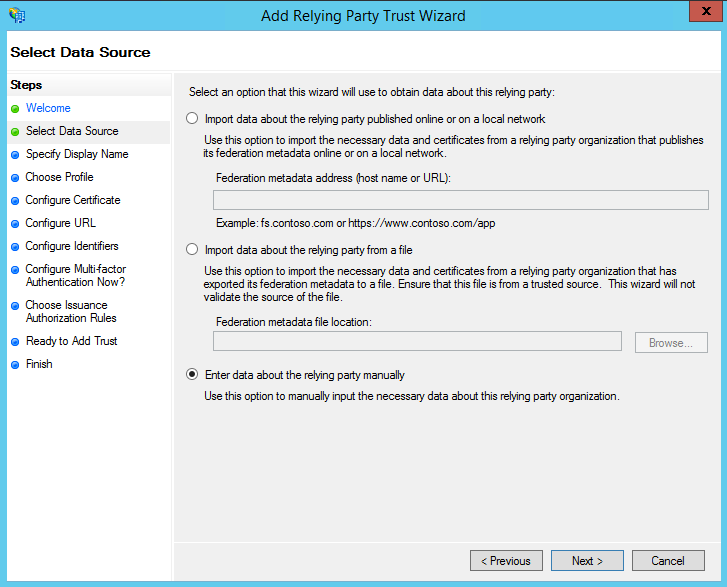
In the Select Data Source screen, select the last option - Enter Data About the Party Manually:
-
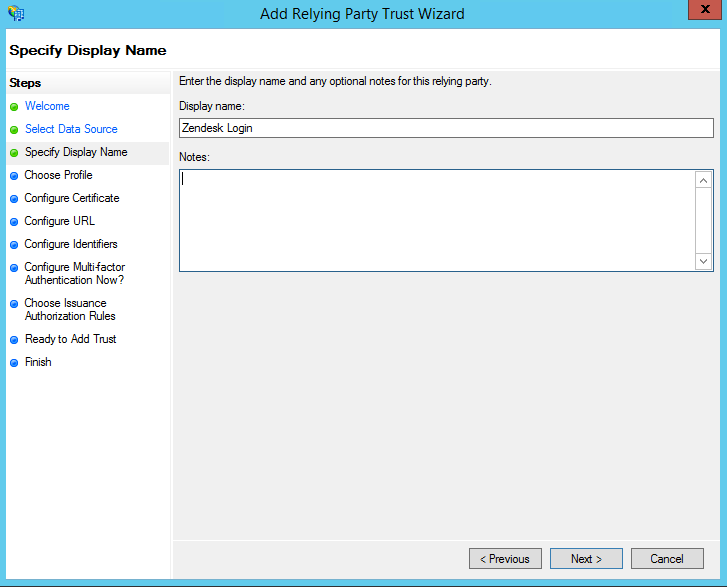
On the next screen, enter a Display name and optionally add notes:
-
On the next screen select the AD FS profile option:

-
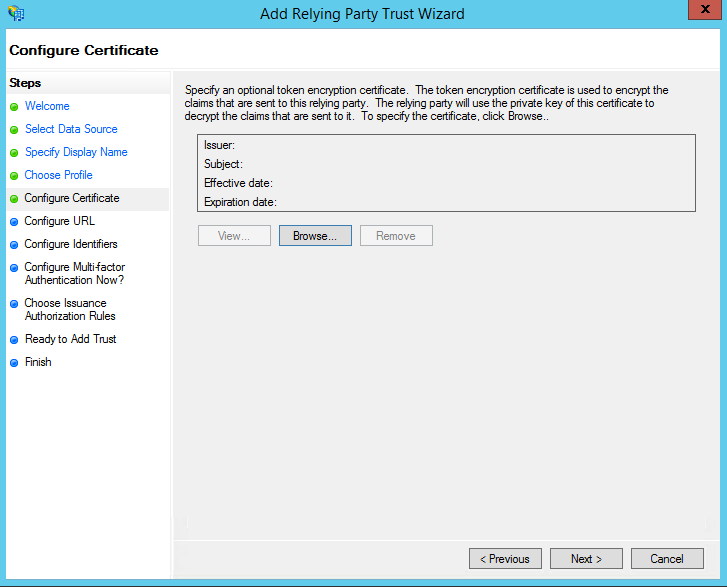
On the next screen, leave the certificate settings at their defaults:
-
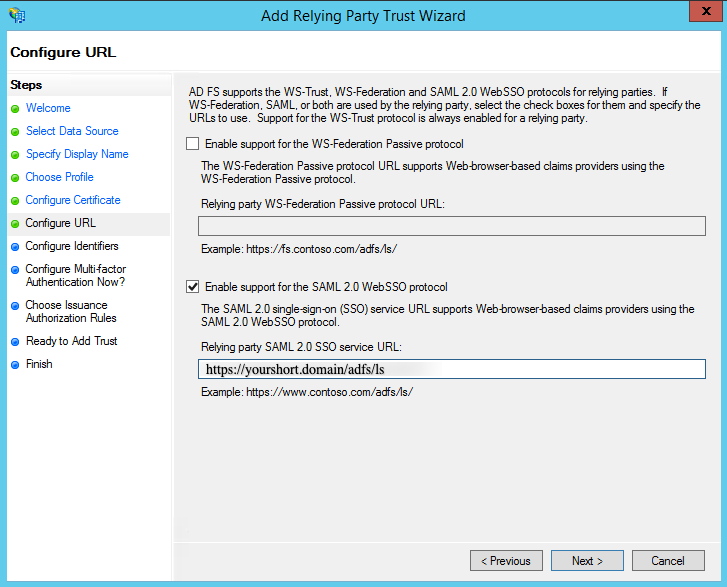
On the next screen, select the optio Enable Support for the SAML 2.0 WebSSO protocol. The service URL will be https://yourshort.domain/adfs/ls replacing yourshort.domain with your Short.io domain. Note that there is no trailing slash at the end of the URL:
-
On the next screen, add a Relying party trust identifier of yourshort.domain, replacing yourshort.domain with your Short.io domain:
 Note
NoteIf you enter yourshort.domain, and receive a request failure error, you may need to enter your subdomain as https://yourshort.domain.
-
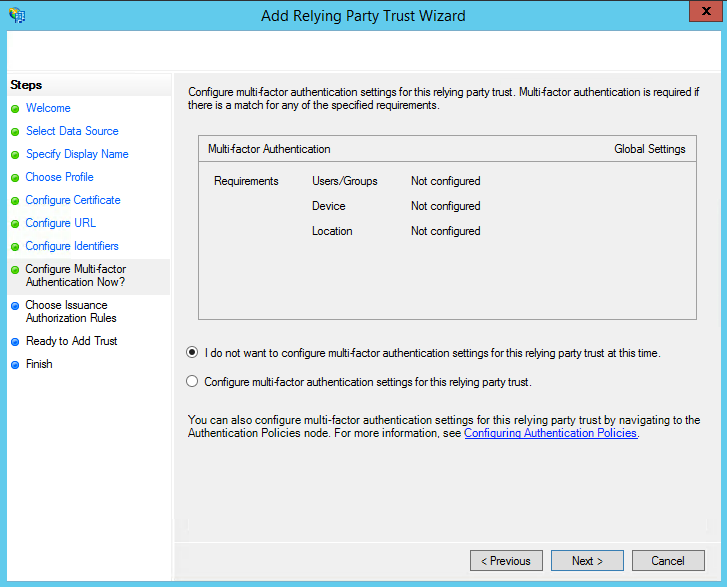
On the next screen, you may configure multi-factor authentication:
-
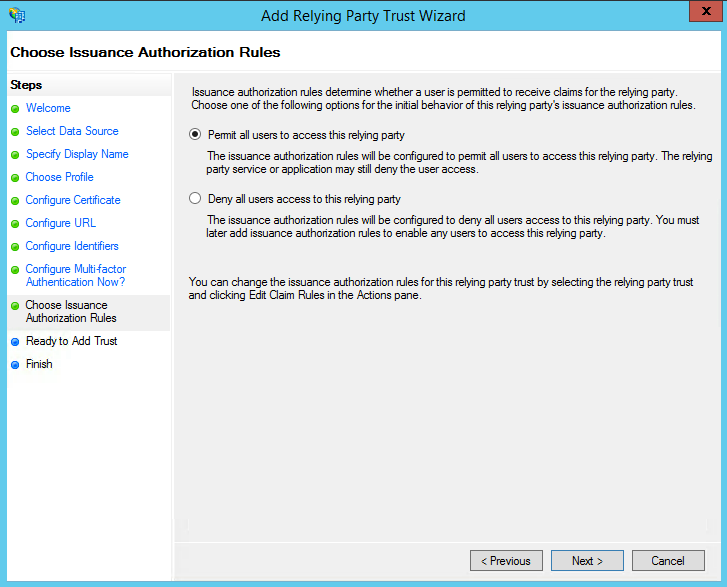
On the next screen, select the option Permit all users to access this relying party:
-
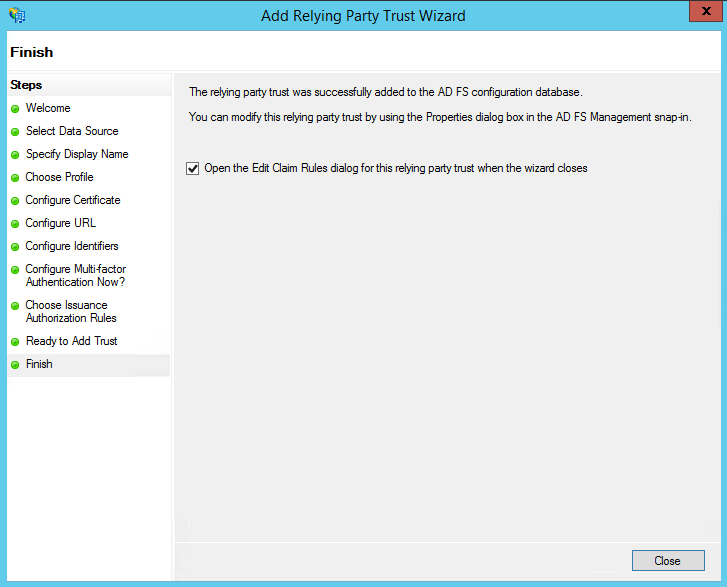
On the next two screens, the wizard will display an overview of your settings. On the final screen click on Close to exit and open the Claim Rules editor:
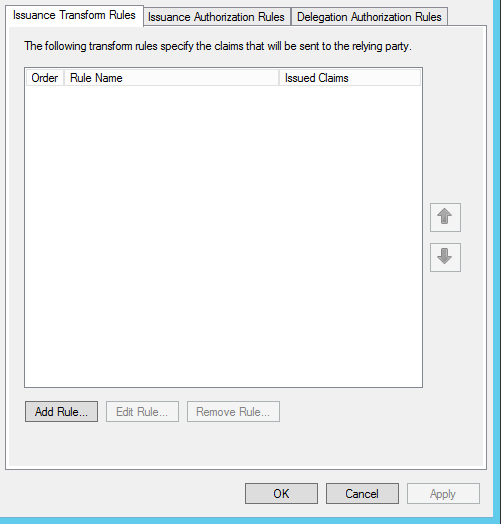
Creating claim rules
Once the relying party trust has been created, you can create the claim rules and update the RPT with minor changes that aren't set by the wizard.
To create a new rule:
-
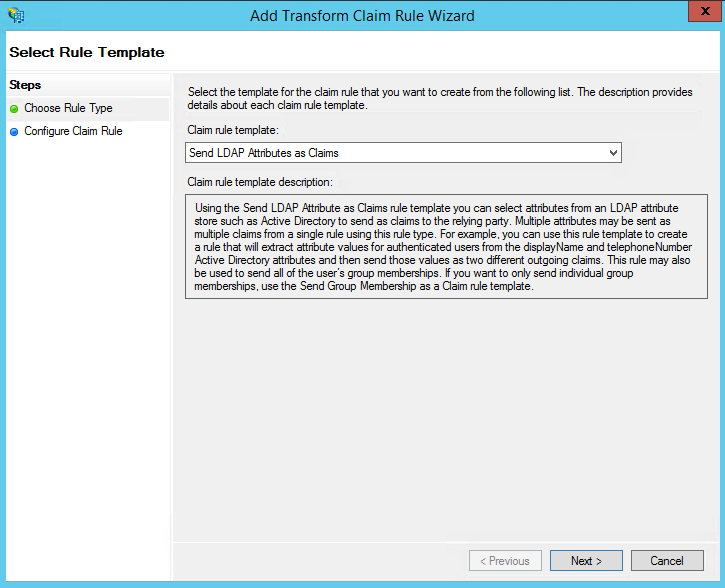
Click on Add Rule. Create a Send LDAP Attributes as Claims rule:
-
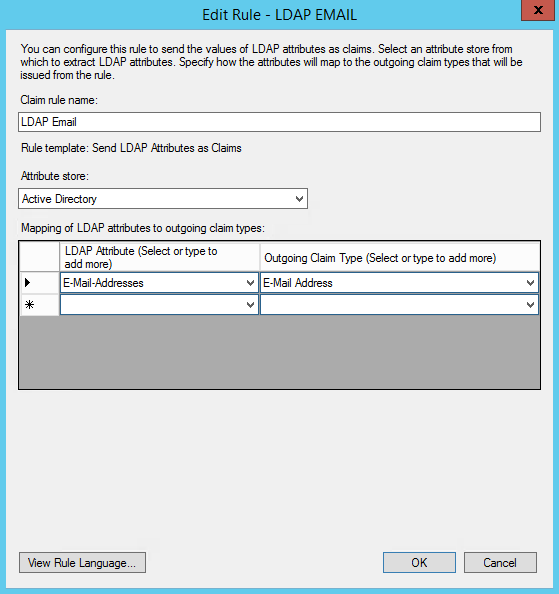
On the next screen, using Active Directory as your attribute store, do the following:
-
from the LDAP Attribute column, select E-Mail Addresses
-
from the Outgoing Claim Type, select E-Mail Address
-
-
Click on OK to save the new rule.
-
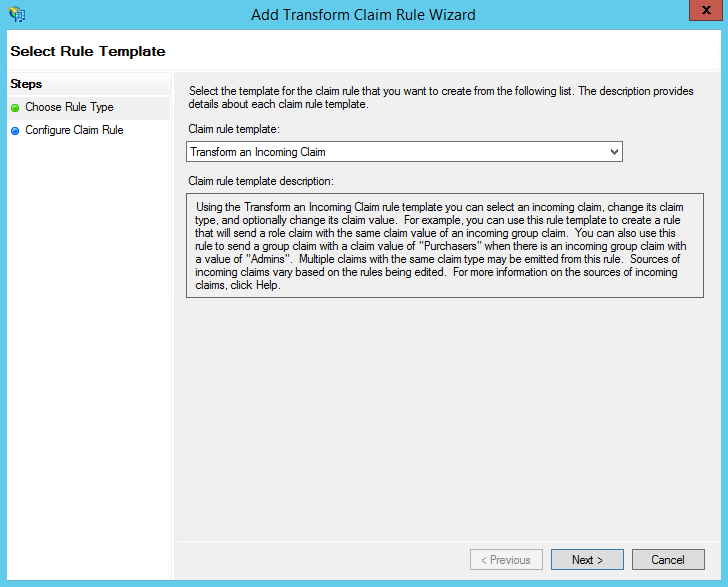
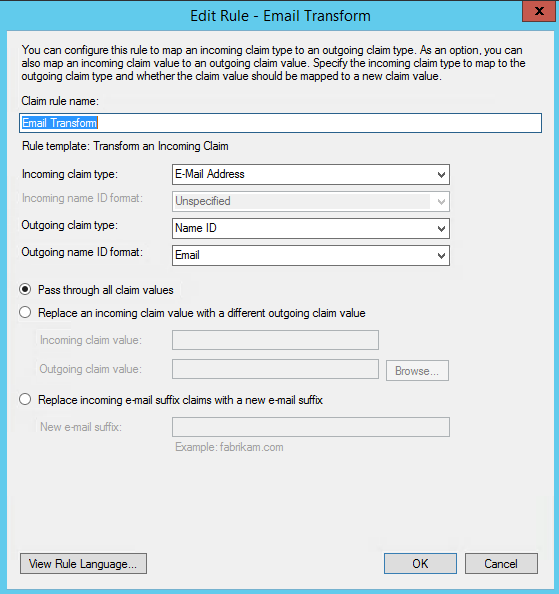
Create another new rule by clicking on Add Rule, this time selecting Transform an Incoming Claim as template:
-
On the next screen select:
-
E-mail Address as Incoming Claim Type
-
Name ID as Outgoing Claim Type
-
Email as Outgoing Name ID Format
-
-
Click on OK to create the claim rule, and then again on OK in the last screen.
Adjusting the trust settings
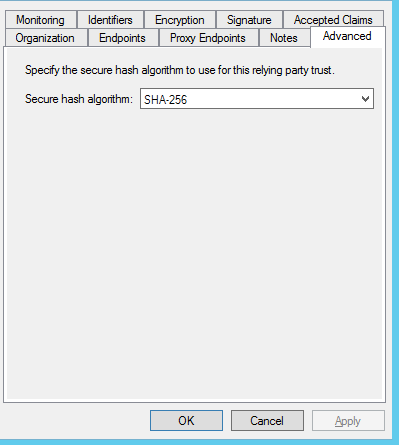
For the final steps of your relying party trust settings select Properties from the Actions sidebar while you have the RPT selected. Proceed as follows:
-
In the Advanced tab, make sure SHA-256 is specified as the secure hash algorithm:
-
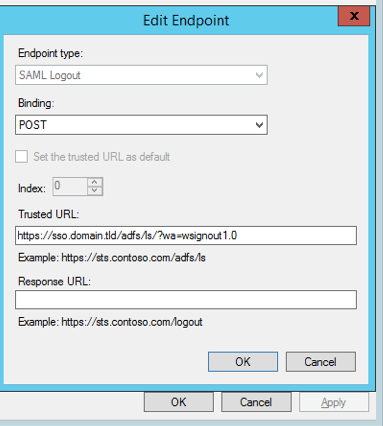
In the Endpoints tab, click on add SAML to add a new endpoint.
-
Select SAML Logout as Endpoint type.
-
Choose POST as Binding.
-
For the Trusted URL, create a URL using:
-
the web address of your AD FS server
-
the AD FS SAML endpoint you noted earlier
-
the string '?wa=wsignout1.0'. The URL should look similar to: https://sso.yourdomain.tld/adfs/ls/?wa=wsignout1.0
-
-
Confirm you changes by clicking OK on the endpoint and the RPT properties. You should now have a working RPT for Short.io.
Your instance of AD FS may have security settings in place that require all Federation Services Properties to be filled out and published in the metadata. Check with your team to see if this applies in your instance. If so, be sure to check the Publish organization information in federation metadata box.
Short.io settings
After setting up AD FS, you need to configure your Short.io account to authenticate using SAML. You will use your full AD FS server URL with the SAML endpoint as the SSO URL, and the login endpoint you created as the logout URL. The fingerprint will be the one of the token signing certificate installed in your AD FS instance.
You can get the fingerprint by running the following PowerShell command on the system with the installed certificate:
C:\> Get-AdfsCertificate
Use the SHA256 thumbprint of the Token-Signing type certificate.
Follow the instructions below:
-
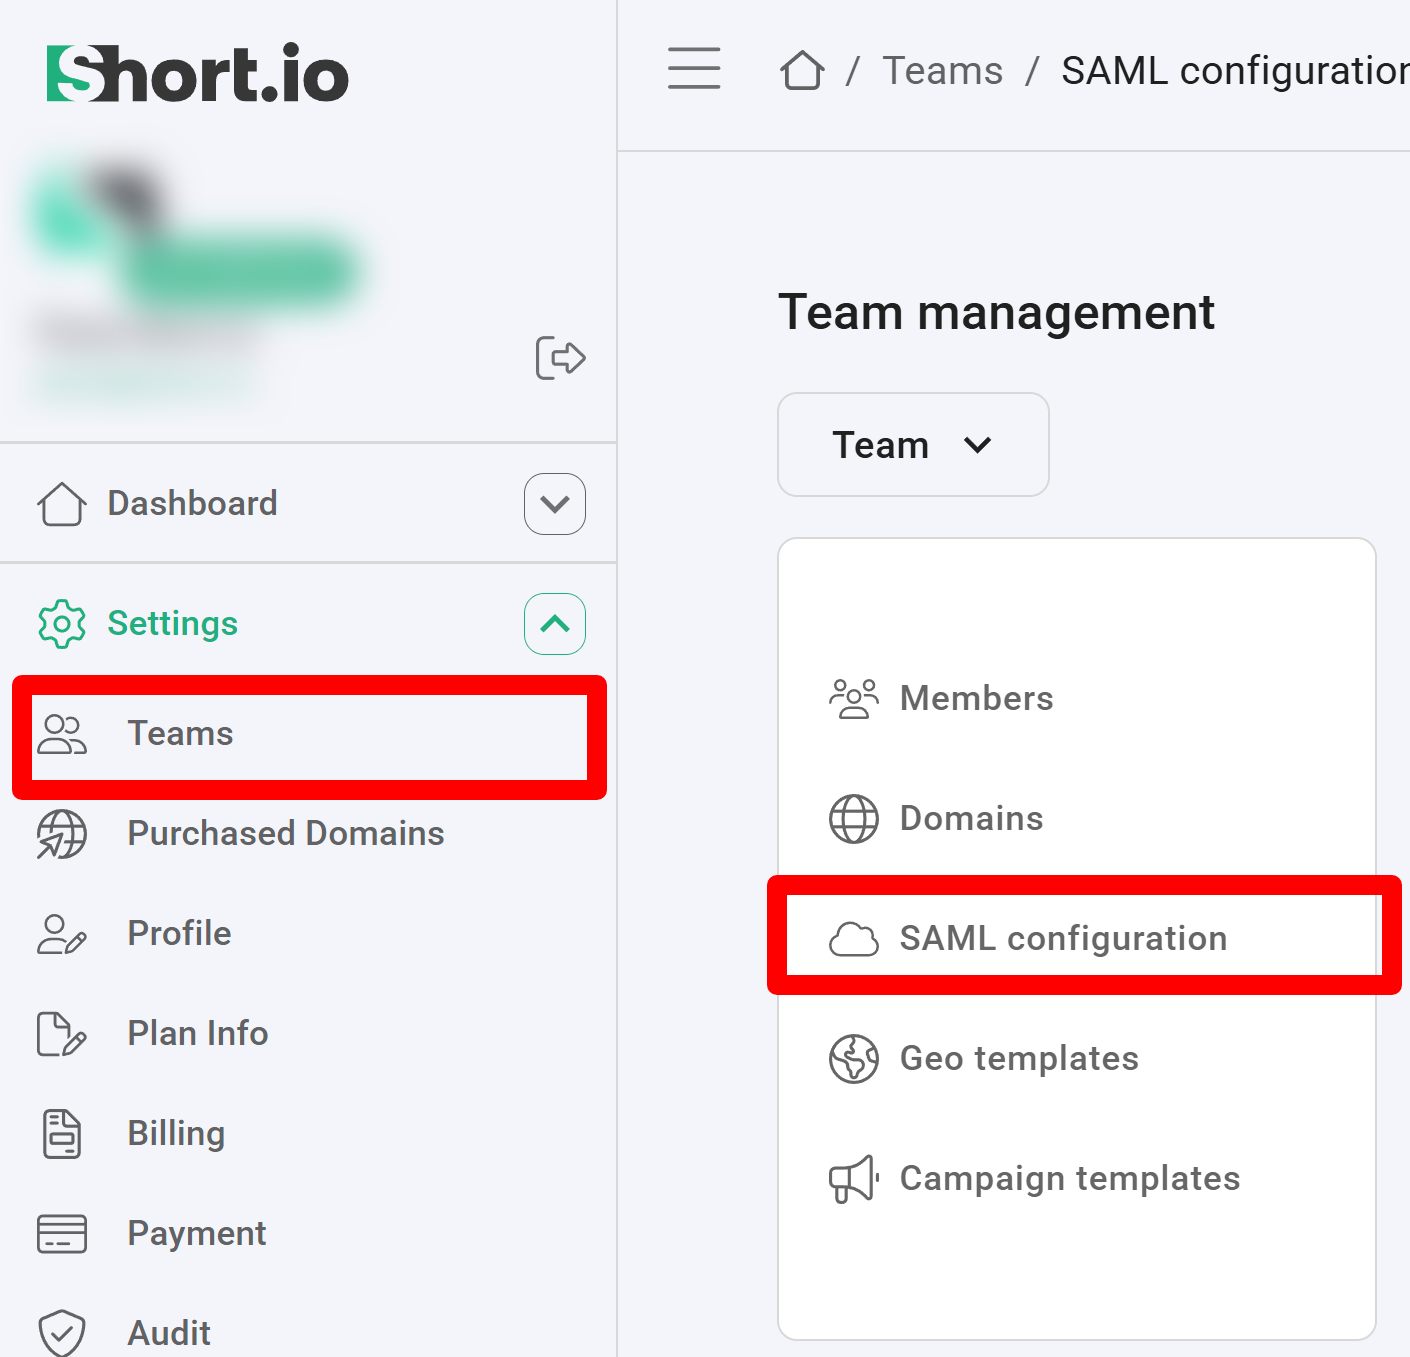
Sign in to your Short.io account.
-
Navigate to the Settings and click on Teams:
-
Click on your team and then click SAML Configuration.
-
In the next screen:
-
enable the SAML configuration:

-
enter the name of your company in the SSO configuration field:
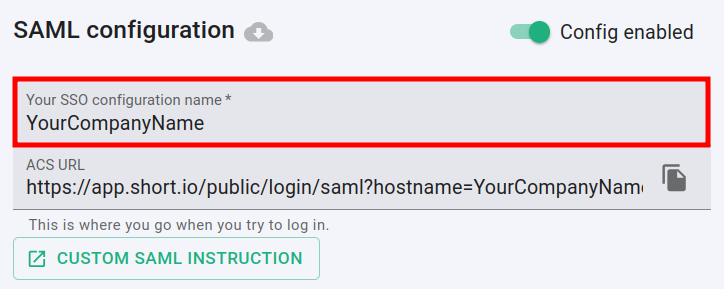
-
paste the Trusted URL (which you applied in the relying party trust settings) into the Entry point URL field:

-
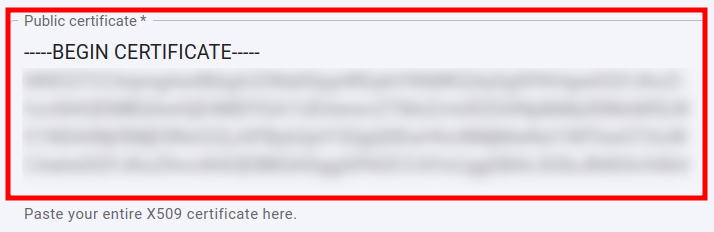
open the certificate which you downloaded in a text editor, copy and paste the content of the certificate into the Public certificate field:
-
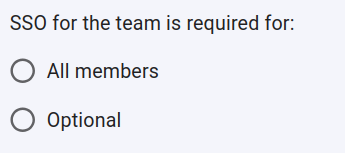
you can specify whether or not the SSO is required for All members of the team or is Optional:
-
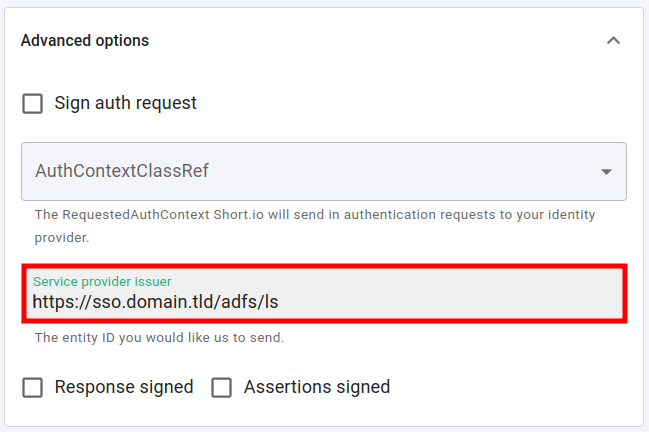
expand the Advanced options and paste the web address of your AD FS server combined with the AD FS SAML endpoint (from the relying party trust settings) into the Service provider issuer field:
-
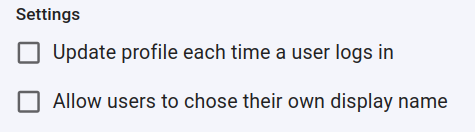
you can determine if a profile should be updated each time the user logs in,
and if the users are allowed to chose their own display name:
-
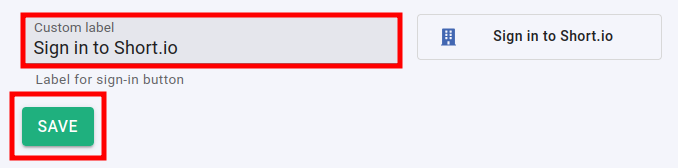
you can change the appearance of the Sign in button by adding a custom label:
-
-
Click on Save to confirm.
You can now use the Single Sign-On with Short.io.
The Short.io team configures SSO within 24 hours.
In case you need further assistance, please contact the Short.io support team at support@short.io.