How to configure SSO via PingFederate
Short.io supports Single Sign-On (SSO) integration with PingFederate.
Note: SSO is available on the Enterprise Plan.
Before you begin
You need to create a Team in Short.io before setting up SSO. Follow the instructions in this article.
How to configure SSO with PingFederate
PingFederate settings
Before configuring your integration, you will need to create a brand new connection from within PingFederate as follows:
-
Access your PingFederate instance.
-
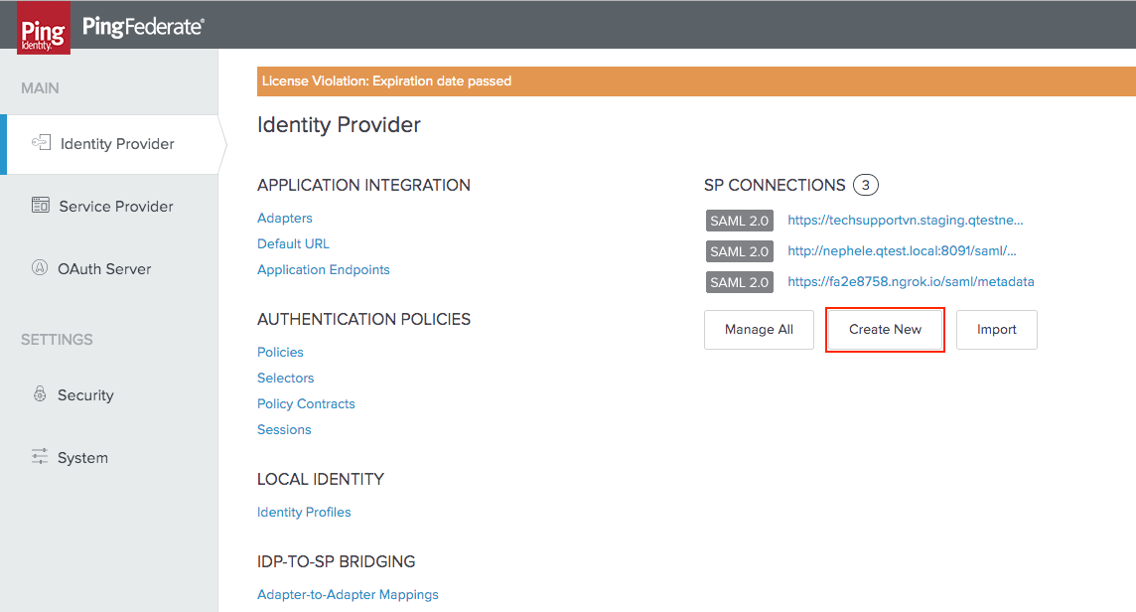
Choose the Identity Provider tab from the left-hand menu.
-
In the Identity Provider page click on Create New:
-
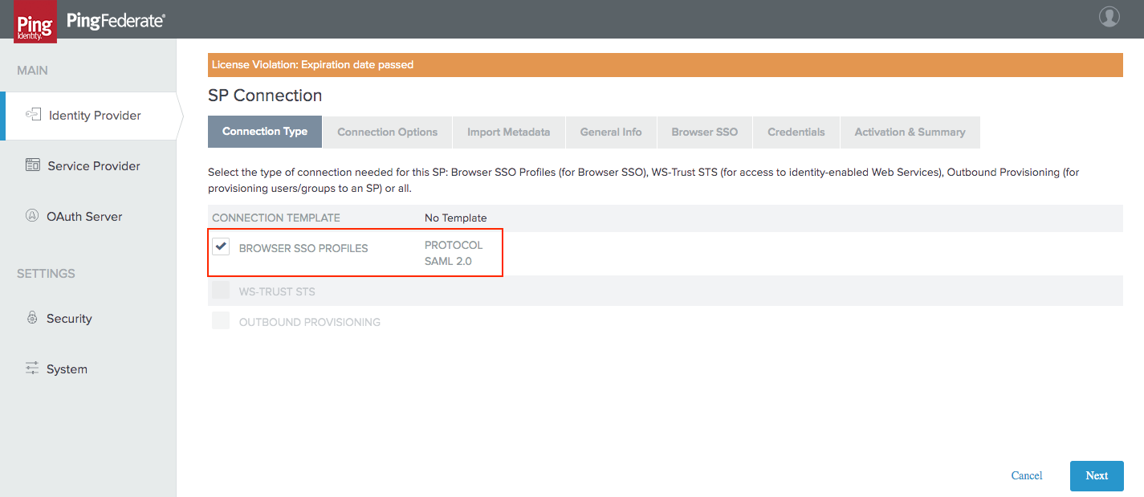
In the Connection Type tab select the Browser SSO Profiles connection template and click on Next:
-
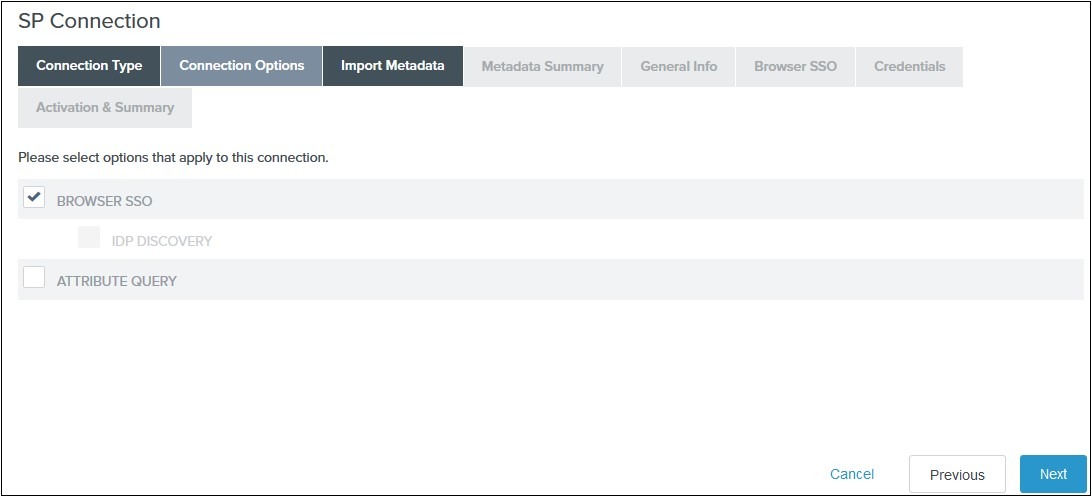
In the Connection Options tab select Browser SSO and click on Next:
-
Review the information on the Metadata Summary tab and click on Next.
-
In the General Info tab ensure that the Service Provider’s Entity ID, Connection Name, and Base URL fields are pre-populated based on the metadata.
-
Click on Next.
-
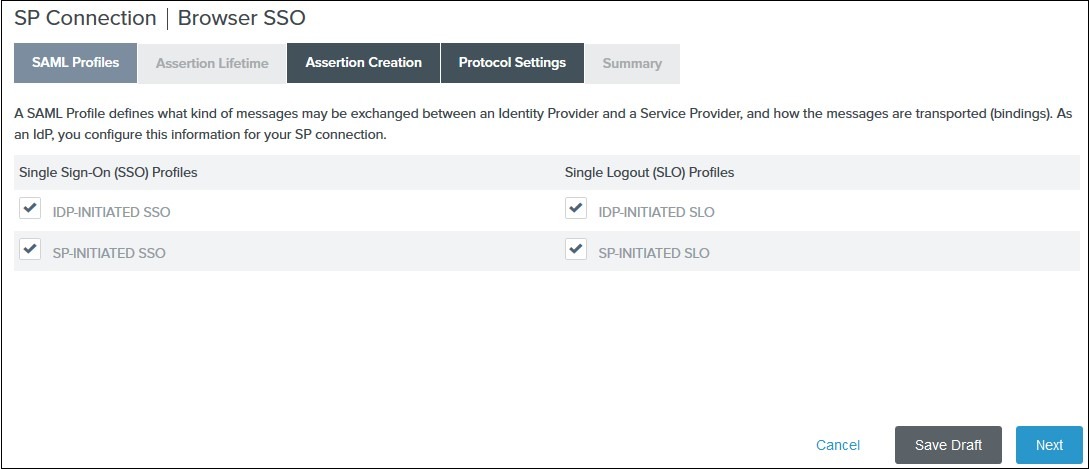
Navigate to the Browser SSO tab and click on the Configure Browser SSO. You will be redirected to Browser SSO Setup wizard.
-
In the SAML Profiles tab select the IdP-Initiated SSO and SP-Initiated SSO options and click on Next.
-
In the Assertion Lifetime tab enter your desired assertion validity time and click on Next (the default configuration is 5 minutes).
-
Navigate to the Assertion Creation and click on Configure Assertion Creation.
-
In the Assertion creation setup wizard:
-
from the Identity Mapping tab select STANDARD and click on Next
-
from the Attribute Contract tab select a Subject Name Format for the SAML_SUBJECT and click on Next
-
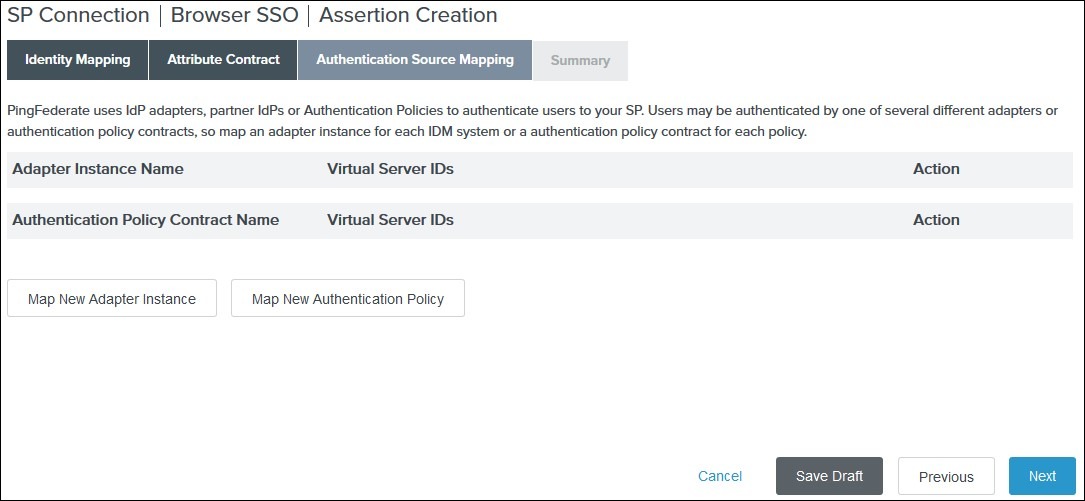
from the Authentication Source Mapping tab click on Map New Adapter Instance
-
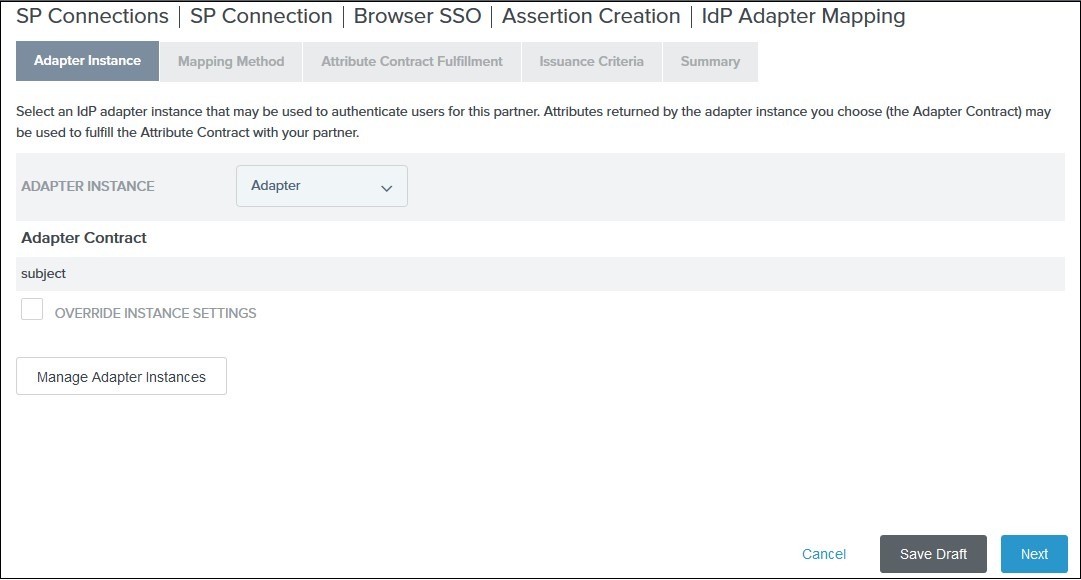
select an Adapter Instance and click on Next. The adapter must include the user’s email address:
-
from the Mapping Method tab select Use only the adapter contract values from the SAML assertion and click on Next
-
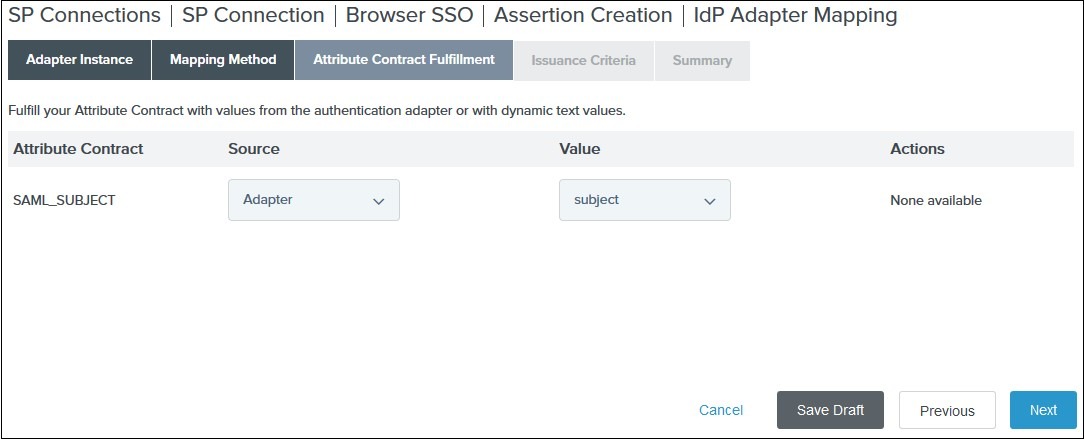
from the Attribute Contract Fulfillment tab select your adapter instance as Source and the email as Value and click on Next
-
skip the Issuance Criteria by clicking on Next
-
in the Summary tab click on Done
-
you are redirected back to the Activation Source Mapping tab. Click on Next to review the summary
-
in the Summary tab click on Done
-
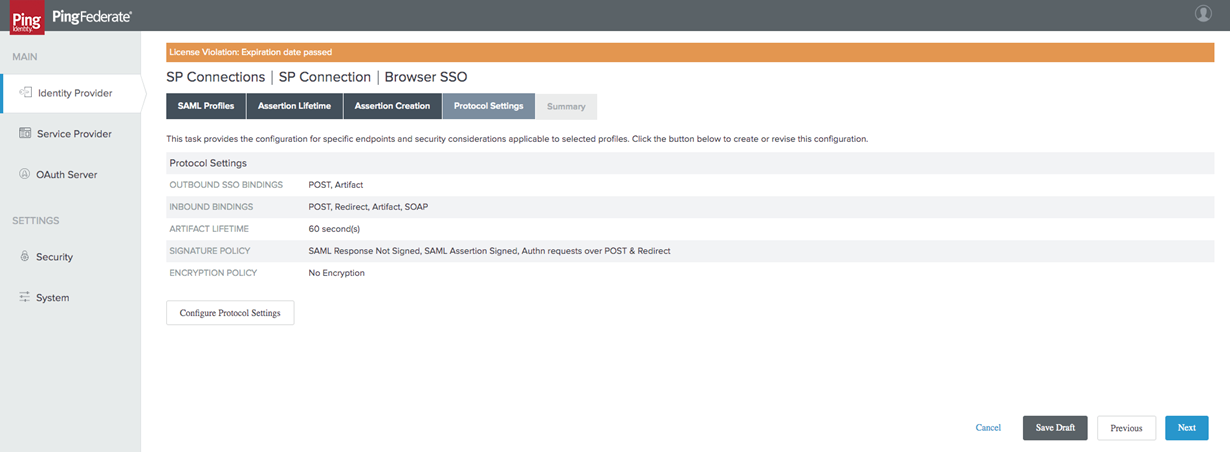
review the Assertion Creation settings and click on Next
-
Configure protocol settings
You will then have to configure your protocol settings:
-
Navigate to the Protocol Settings tab of the Browser SSO wizard and click on Configure Protocol settings:
-
Select POST for Binding and specify the single sign-on endpoint URL in the Endpoint URL field on the Assertion Consumer Service URL:

-
Click on Next.
-
In the Allowable SAML Bindings tab Select POST and click on Next.
-
In the Signature Policy tab select your desired signature policies for assertions and click on Next:
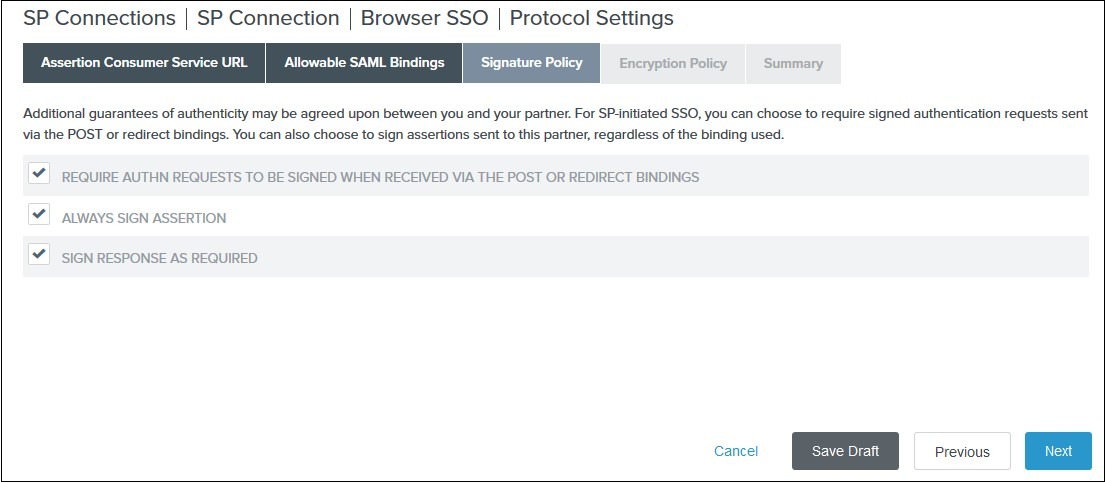
-
In the Encryption Policy tab select your desired encryption policy for assertions and click on Next.
-
In the Protocol Settings Summary tab click on Done.
-
In the Browser SSO Summary click on Done.
Define your credentials
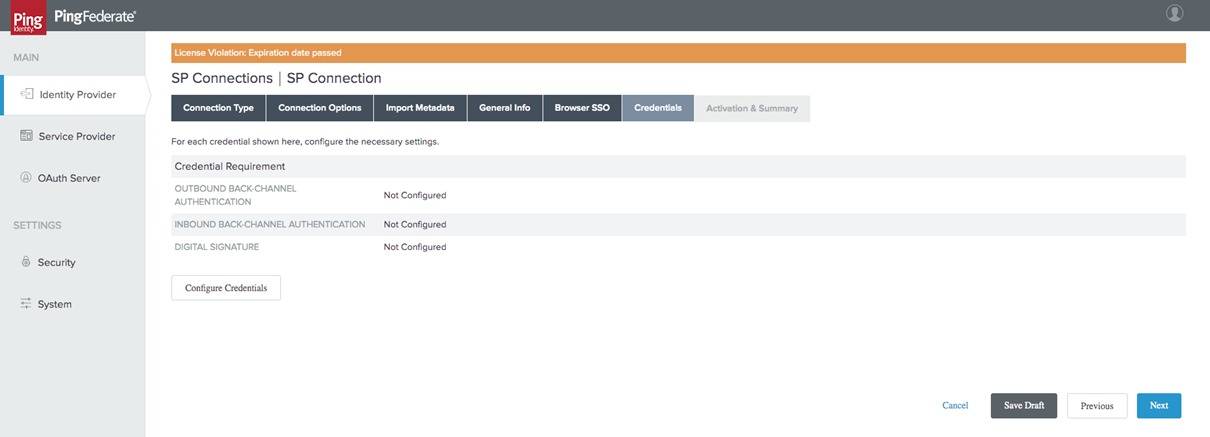
Next, you will need to define your Credentials.
-
In the Credentials tab, click on Configure Credentials:
-
In the Digital Signature Settings tab select Signing Certificate to use with the Single Sign-On service and select Include the certificate in the signature element.
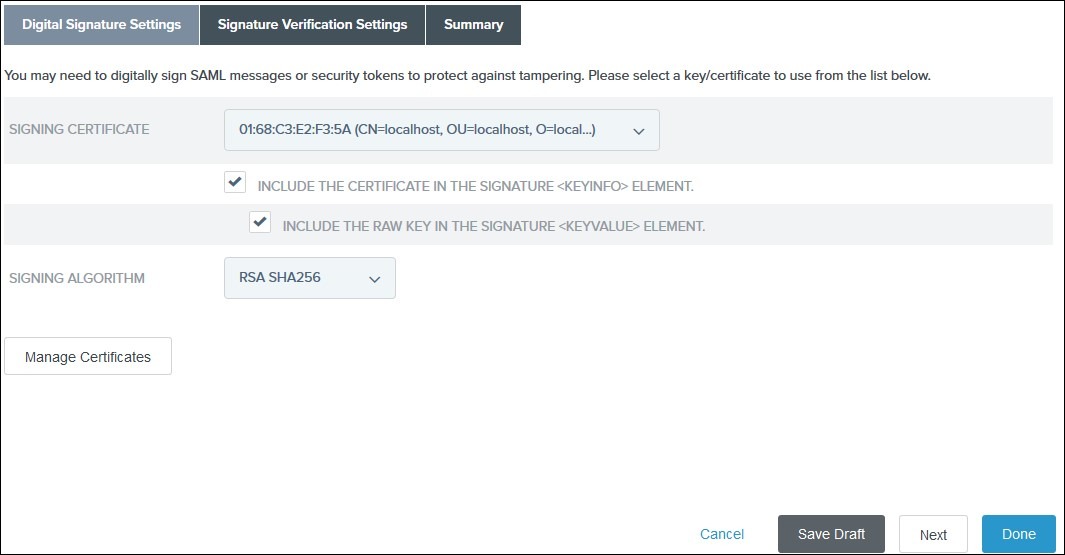
-
Click on Done.
-
In the Summary tab Click on Done.
-
In the Credentials tab click on Next.
Metadata Export
Now that you have configured the integration, you can export your metadata to Short.io. Follow the steps below:
-
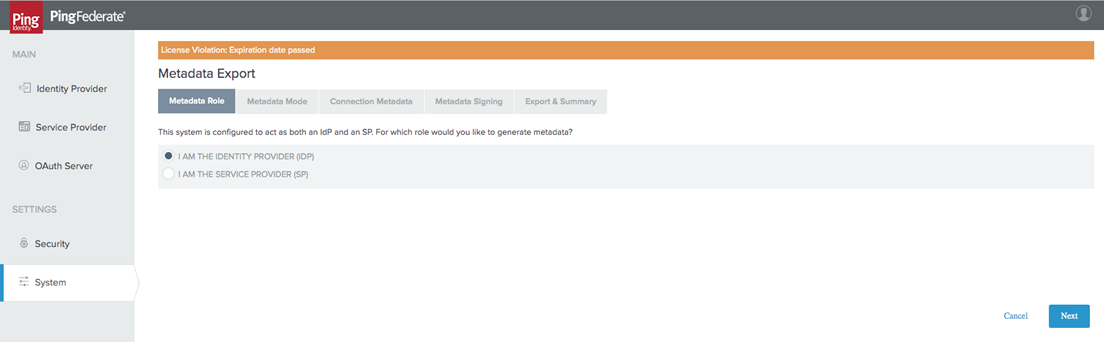
Navigate to the System Settings and choose Metadata Export.
-
From the Metadata Role tab, select I am the IDP.
-
Click on Next.
-
Select Use a connection for Metadata Generation and click on Next:

-
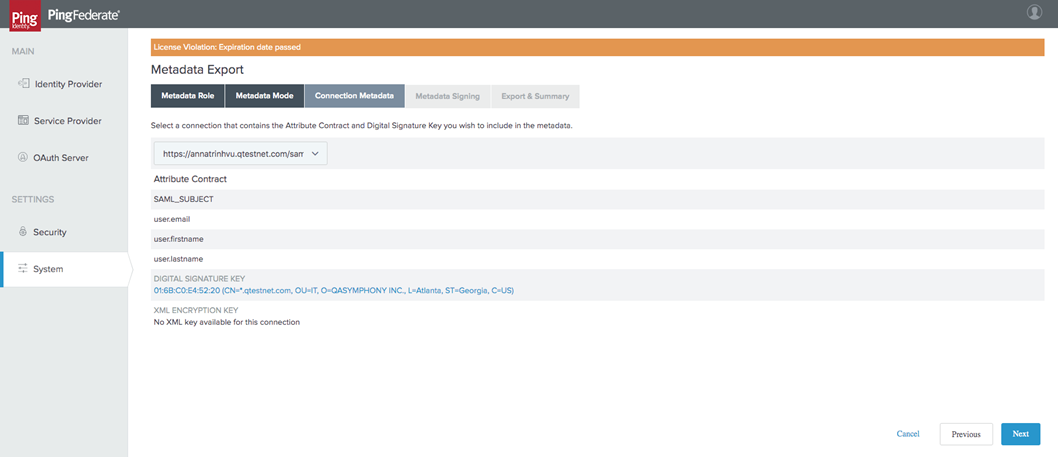
In the Connection Metadata tab select the SP connection you create with Short.io:
-
Click on Next.
-
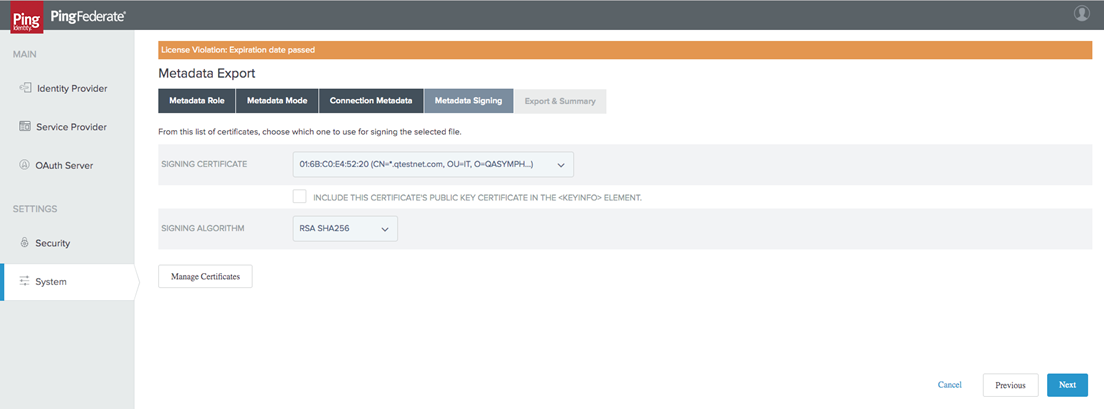
Select signing certificate and click on Next:
-
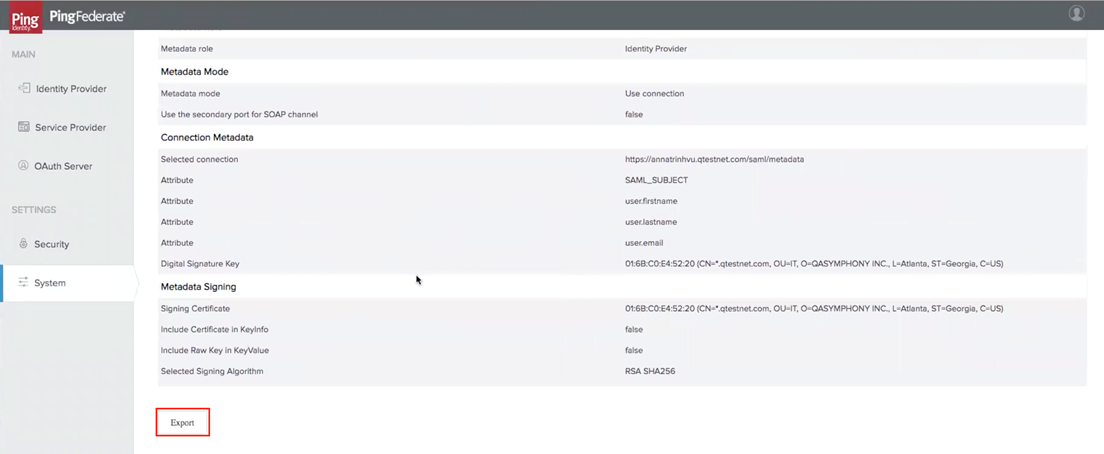
Review and export the metadata file:
Short.io settings
-
Sign in to your Short.io account.
-
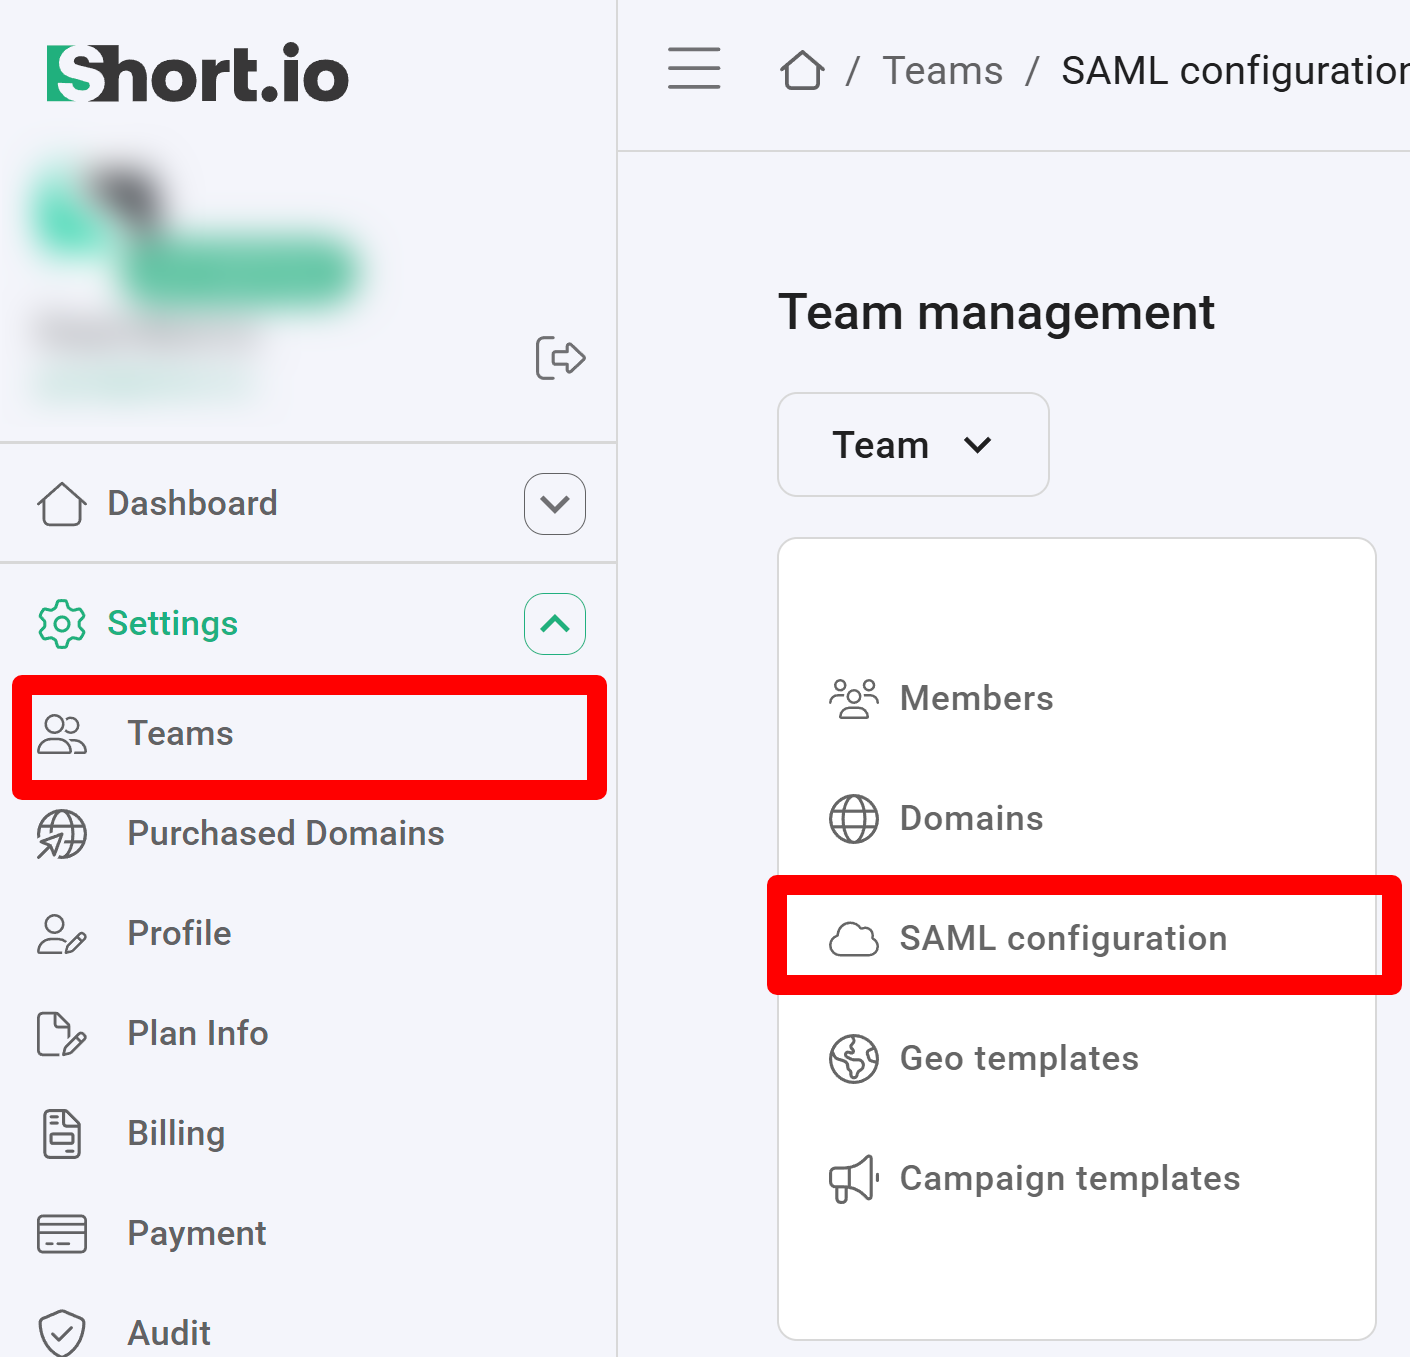
Navigate to the Settings and click on Teams:
-
Click on your team and then click SAML Configuration.
-
In the next screen:
-
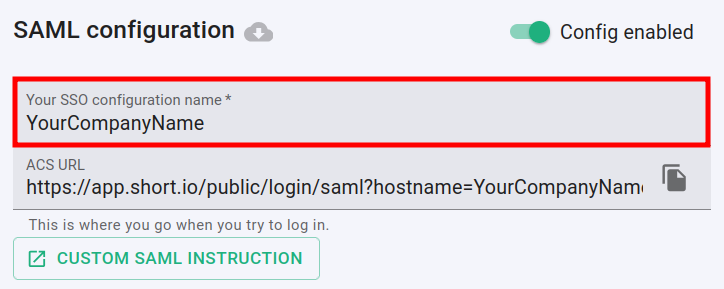
enable the SAML configuration:

-
enter the name of your company in the SSO configuration field:
-
from the downloaded SAML metadata file copy the URL value of the SingleSignOnService node > Location attribute field and paste it in the Entry point URL field
-
copy the content of the X509Certificate node and paste it to the Public certificate field
-
copy the URL located in the EntityDescriptor node > EntityID attribute and paste it to the Advanced options -> Service provider issuer field
-
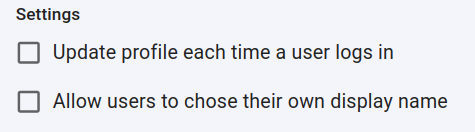
you can determine if a profile should be updated each time the user logs in,
and if the users are allowed to chose their own display name:
-
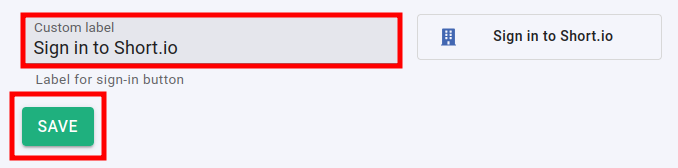
you can change the appearance of the Sign in button by adding a custom label:
-
-
Click on Save to confirm.
You can now use the Single Sign-On with Short.io.
Note: The Short.io team configures SSO within 24 hours.
In case you need further assistance, please contact the Short.io support team at support@short.io.
https://plugins.miniorange.com/saml-single-sign-sso-confluence-using-pingfederate